 how-to
How to Build a Story Bracelet Step by Step
Last Updated: October 25, 2026
Quick Summary
A story bracelet is jewelry that tells your personal narrative through chosen beads, charms, and symbols, each representing a moment, memory, or person that matters to you. Build one by planning your theme, creating a story map, selecting symbolic beads, arranging them in sequence, and assembling with elastic or wire cord using a bead-by-bead key.
- Plan your story with a three-column worksheet listing each moment, its symbol, and its position on the bracelet.
- Aim for five to nine moments for an adult bracelet and three to five for a child's.
- Measure your wrist and add half an inch for comfortable movement; most adults wear bracelets between 7 and 8 inches.
- Dry-fit your strung bracelet around your wrist before tying the final knot to ensure the sequence and fit are correct.
- Check elastic cord knots monthly and replace elastic every 1-2 years as it stretches over time.
Table of Contents
- What Makes a Story Bracelet Meaningful
- DIY Charm Bracelet Supplies You'll Need
- Planning Your Narrative with Personalized Charm Bracelet Ideas
- Charm Bracelet Sizing Guide
- How to Arrange Charms on a Bracelet
- Assembling Your Story Bracelet
- Care and Durability of Your Story Bracelet
- Create Your Custom Story Bracelet
- Frequently Asked Questions
What Makes a Story Bracelet Meaningful
A story bracelet is jewelry that tells your personal narrative through chosen beads, charms, and symbols, each representing a moment, memory, or person that matters to you.
What sets a story bracelet apart is intention: you're building a wearable timeline, where a bead marks a milestone and a charm honors someone you love.
At Handmade Pandora-Style Charm Bracelets, we believe personalized jewelry holds real power.
DIY Charm Bracelet Supplies You'll Need
Building your own story bracelet starts with the right materials. Gather these before you begin:
Base materials:
- A bracelet base (beaded cord, memory wire, or elastic cord)
- Beads in various sizes and colors
- Charms or pendants that represent your story
Tools and accessories:
- Scissors or wire cutters
- Beading needle or wire-threading tool
- Measuring tape
High-quality beads and charms make a real difference. Consider Sterling Silver vs Gold Plated Charm Bracelets to understand which metal finish suits your story bracelet best. Look for glass beads, crystal pearls, or semi-precious stones for durability.
Consider Sterling Silver vs Gold Plated Charm Bracelets to understand which metal finish suits your story bracelet best. Sterling silver offers timeless elegance, while gold plating adds warmth.
Planning Your Narrative with Personalized Charm Bracelet Ideas
Before you thread a single bead, plan your story. This step separates a random bracelet from one that truly resonates.
Step 1: Choose Your Theme and Story Arc
Start by deciding what story your bracelet will tell. Common themes include:
- Travel adventures: One bead or charm for each destination
- Life milestones: Graduation, new job, wedding, home purchase
- Relationships: A bead for each important person in your life
Your theme guides every other decision: colors, charms, and bead count. A travel-themed bracelet might use earth tones and map charms; a friendship bracelet might feature matching beads in complementary colors. Write it down before shopping to stay focused.
Step 2: Build a Story Map (Worksheet Method)
A story map is a simple three-column worksheet you can draw on paper or in a notes app. It's the most useful planning tool for a story bracelet because it forces you to name each moment before you buy anything.
| Column | What to write | Example |
|---|---|---|
| Moment | The event, person, or feeling | First solo trip |
| Symbol | The bead, charm, or color that represents it | Small compass charm |
| Position | Where it sits in the sequence | Bead 3 of 9 |
Fill in one row per story moment. Aim for five to nine moments for an adult bracelet and three to five for a child's.
Step 3: Select Symbolic Beads and Charms
Once you know your theme, choose beads and charms that represent specific moments or people. Think about color psychology: blue for calm and loyalty, red for passion, green for growth, gold for achievement, purple for creativity, and clear crystal for new beginnings. Charms work best when they're specific: instead of a generic flower, choose one that reminds you of a particular person or place.
Step 4: Assign Bead Order and Spacing
Translate the story map into a bead-by-bead sequence. A reliable pattern is spacer, story bead, spacer, story bead, repeating, with a focal charm where your story turns. Spacers keep larger beads from rubbing and let each story bead read as its own moment. A common ratio is one focal element for every three to four story beads. Place closely related moments next to each other; separate distinct chapters with a spacer or accent bead.
Step 5: Test the Sequence Before You String
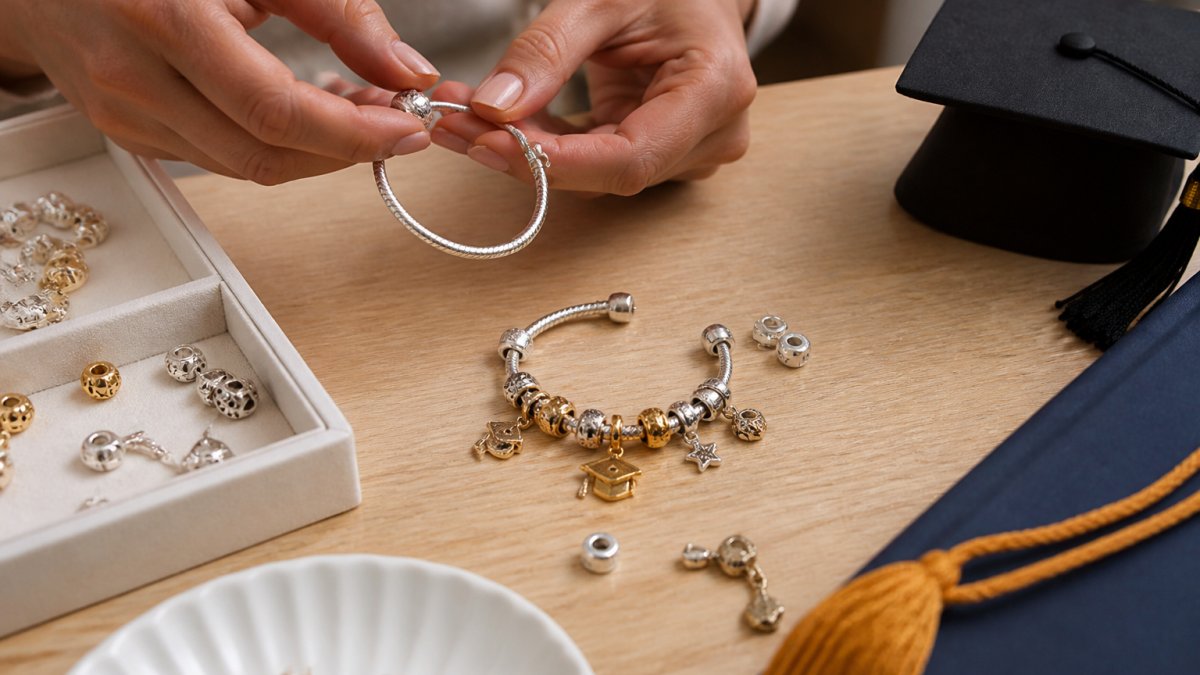
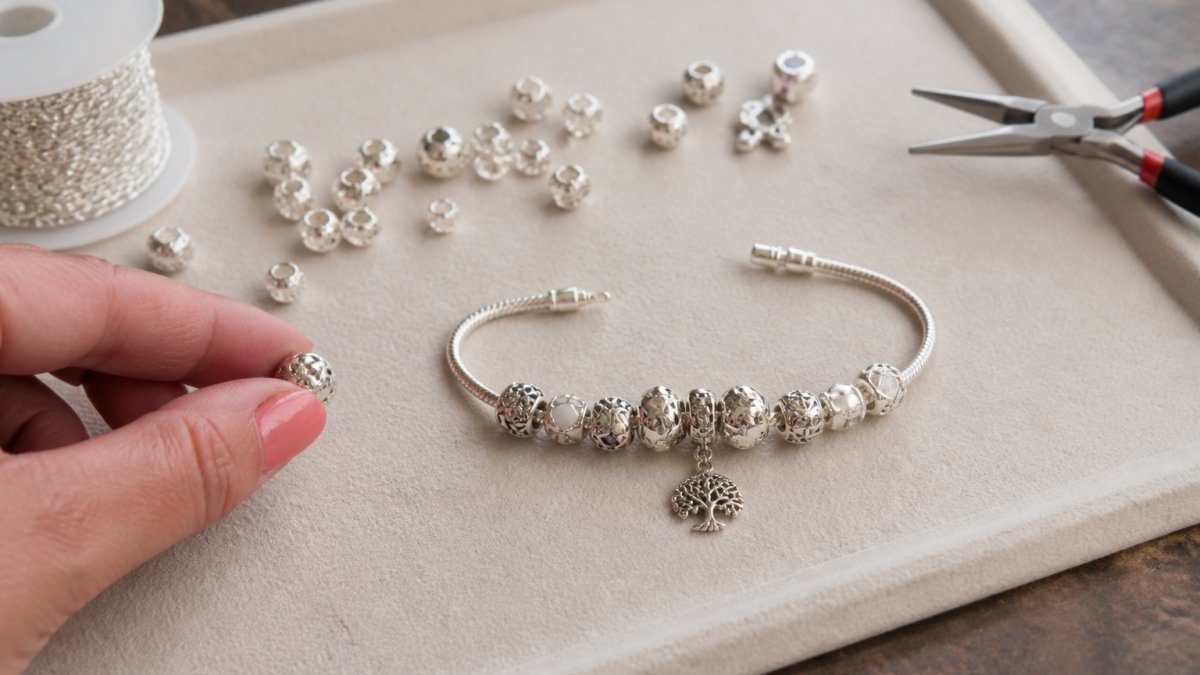
Lay the full sequence on a bead tray or felt in the exact order from your story map. Read it left to right as if telling the story aloud, and ask: does each bead still remind you of its moment without checking the worksheet? Do the colors flow? Is the focal charm visible? Rearrange until all three answers are yes.
Charm Bracelet Sizing Guide
Getting the right fit matters: too tight cuts off circulation, too loose slides off your wrist.
Measure your wrist:
- Use a soft measuring tape or a piece of string
- Wrap it around your wrist where you normally wear a bracelet
- Mark where it meets and measure that length
Most adults wear bracelets between 7 and 8 inches; children typically need 5.5 to 6.5 inches. Your base length should be about a quarter inch shorter than your wrist measurement, since beads and charms add thickness. Test sizing before finalizing: string your beads loosely and wrap the base around your wrist, it should sit comfortably without pinching or sliding.
How to Arrange Charms on a Bracelet
The order of your beads matters: you're creating a visual flow that tells your story in sequence. Lay out all your beads and charms on a flat surface in your intended order, then step back and check the balance. Consider these arrangement strategies:
Check out One-of-a-Kind customer bracelets →
- Chronological: Arrange beads in the order events happened
- Color gradient: Move from light to dark or warm to cool
- Size variation: Alternate large and small beads for rhythm
Once you're happy with the layout, you're ready to string. Can You Add Charms to Any Bracelet? A Complete Guide explains how to adapt existing bracelets if you want to repurpose one you already own.
Assembling Your Story Bracelet
Assembling your bracelet is straightforward once you know the basic technique, but the difference between one that survives daily wear and one that falls apart in a month is preparation and finishing.
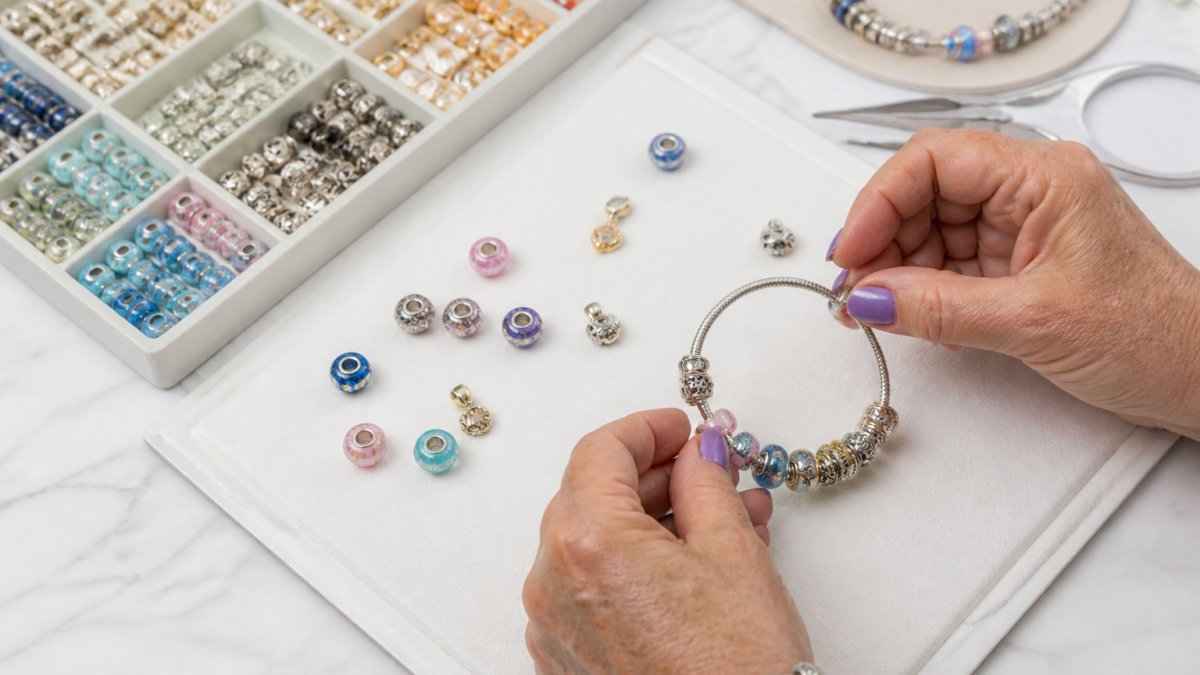
Worked Example: A Five-Moment Travel Story
Suppose your story map has five moments: a first flight, a coastal trip, a mountain hike, a city reunion, and a return home. A bead-by-bead key for a 7.5-inch elastic bracelet might look like this:
| Position | Element | Story moment |
|---|---|---|
| 1 | Silver spacer | Opening / start of journey |
| 2 | Pale blue glass bead | First flight |
| 3 | Silver spacer | Transition |
| 4 | Turquoise bead | Coastal trip |
| 5 | Compass charm (focal) | The journey itself |
| 6 | Green faceted bead | Mountain hike |
| 7 | Silver spacer | Transition |
| 8 | Warm gold-tone bead | City reunion |
| 9 | Clear crystal bead | Return home |
| 10 | Silver spacer | Closing |
This key is your assembly script. Keep it beside your work surface and check off each position as you thread it. The same method works for any theme, including a friendship bracelet where two people share the same key in complementary colors.
Preparing Your Base
If you're using elastic cord, cut a length about 2 inches longer than your final bracelet size. A common choice is 0.8 mm to 1 mm stretch cord; thinner cord can fray inside larger bead holes, and thicker cord may not pass through small spacers. Memory wire holds its shape naturally, so you won't tie knots; use wire cutters to trim it and small pliers to create loops.
Adding Beads and Charms in Order
Thread your needle or beading tool and add your first bead, pushing it down the cord and leaving about an inch at the end. Continue threading in order, checking each against your bead-by-bead key, and keep even tension: too tight puckers the bracelet, too loose lets beads move around. Add focal charms at planned intervals, spaced evenly so they don't bunch on one side.
Securing Your Finished Bracelet
Once all beads are threaded, secure the ends. For elastic cord:
- Tie a square knot by crossing the cord ends
- Pull tight but not so hard you break the cord
- Tie a second knot for security
- Trim excess cord close to the knot
- Optional: apply a tiny drop of clear glue to the knot to prevent unraveling
For beaded wire or memory wire, use small pliers to create a loop at each end; for a clasped bracelet, attach a jump ring to each end loop and connect the clasp. Test your bracelet: put it on and move your wrist. Beads should stay in place and the fit should feel comfortable with no pinching.
Troubleshooting Common Assembly Problems
- Beads slide loosely on the strand: Your cord is thinner than the bead holes. Add spacer beads or move to a slightly thicker cord.
- Bracelet puckers or curls: Tension was too tight during stringing. Restring with a little more slack between beads.
- Knot slips after wear: A single knot is not enough on elastic. Use a double knot plus a drop of clear glue, and check it monthly.
Care and Durability of Your Story Bracelet
Your story bracelet deserves care to stay beautiful for years. Different materials need different approaches.
Elastic cord bracelets:
- Remove before swimming or showering if possible
- Avoid prolonged sun exposure, which fades colors
- Check knots monthly for signs of wear
Beaded wire bracelets:
- Wipe with a soft cloth to remove dirt
- Avoid bending the wire repeatedly in the same spot
- Store flat rather than coiled to prevent kinks
Metal charms and clasps:
- Gently clean with a soft, slightly damp cloth
- Dry immediately to prevent tarnishing
- Store in a dry place away from moisture
A well-made story bracelet lasts for years. The beads and charms won't wear out; the cord or wire may eventually need replacing, but you can restring your beads onto new cord and keep your story intact.
Create Your Custom Story Bracelet
Building a story bracelet is more than a craft project.
Start with your theme. Choose beads and charms with intention. Measure carefully. Assemble with patience.
Handmade Pandora-Style Charm Bracelets specializes in creating personalized charm bracelets that celebrate your narrative.
Whether you build your bracelet yourself or commission a custom piece, the meaning stays the same: you're wearing your story every day.
Frequently Asked Questions
What is a story bracelet?
A story bracelet is a personalized piece of jewelry where each bead, charm, or element represents a meaningful memory, milestone, or aspect of your life. Unlike mass-produced bracelets, a story bracelet tells your unique narrative through carefully chosen symbols and colors arranged in a sequence that holds personal significance. You decide what each element means, making it a wearable reflection of your journey, travels, achievements, or relationships.
How many charms should you put on a story bracelet?
There's no fixed number, it depends on your wrist size and personal preference. Most story bracelets feature 5 to 12 charms or beads, which provides enough visual interest without overwhelming the design. Start by measuring your wrist and planning your layout before you assemble. You can always add or swap elements later, so begin with a core set of symbols that matter most to your narrative.
How do you choose the right bracelet size for charms?
Measure your wrist with a soft measuring tape or string, adding 0.5 to 1 inch for comfortable fit. Most standard charm bracelets range from 7 to 8 inches for adults. When selecting a base bracelet or cord, check the manufacturer's specifications for maximum bead capacity. Factor in the size of your chosen beads and charms, larger elements take up more space, so a 7-inch bracelet may hold fewer items than an 8-inch one.
How can you make a story bracelet feel personal?
Choose beads and charms that genuinely reflect your story, colors you love, symbols tied to specific memories, or materials that feel special to you. Arrange them in chronological order or thematic groups so the narrative flows. Consider mixing different textures, finishes, and bead types to add depth. Adding a clasp or spacer that matches your style, or including a handwritten note about what each charm means, deepens the personal connection and makes the finished piece truly yours.